1. Увод
This manual provides comprehensive instructions for the Zenwire W2503 Wireless 1D/2D/QR Barcode Scanner. Please read this manual carefully before using the device to ensure proper operation and to maximize its lifespan.
2. Садржај пакета
Verify that all items are present in the package. If any items are missing or damaged, contact customer support.
- Zenwire W2503 Wireless Barcode Scanner
- Доцк за пуњење
- УСБ кабл
- Кориснички приручник (овај документ)
3. Производ је готовview
The Zenwire W2503 barcode scanner system consists of the scanner unit and a charging dock.
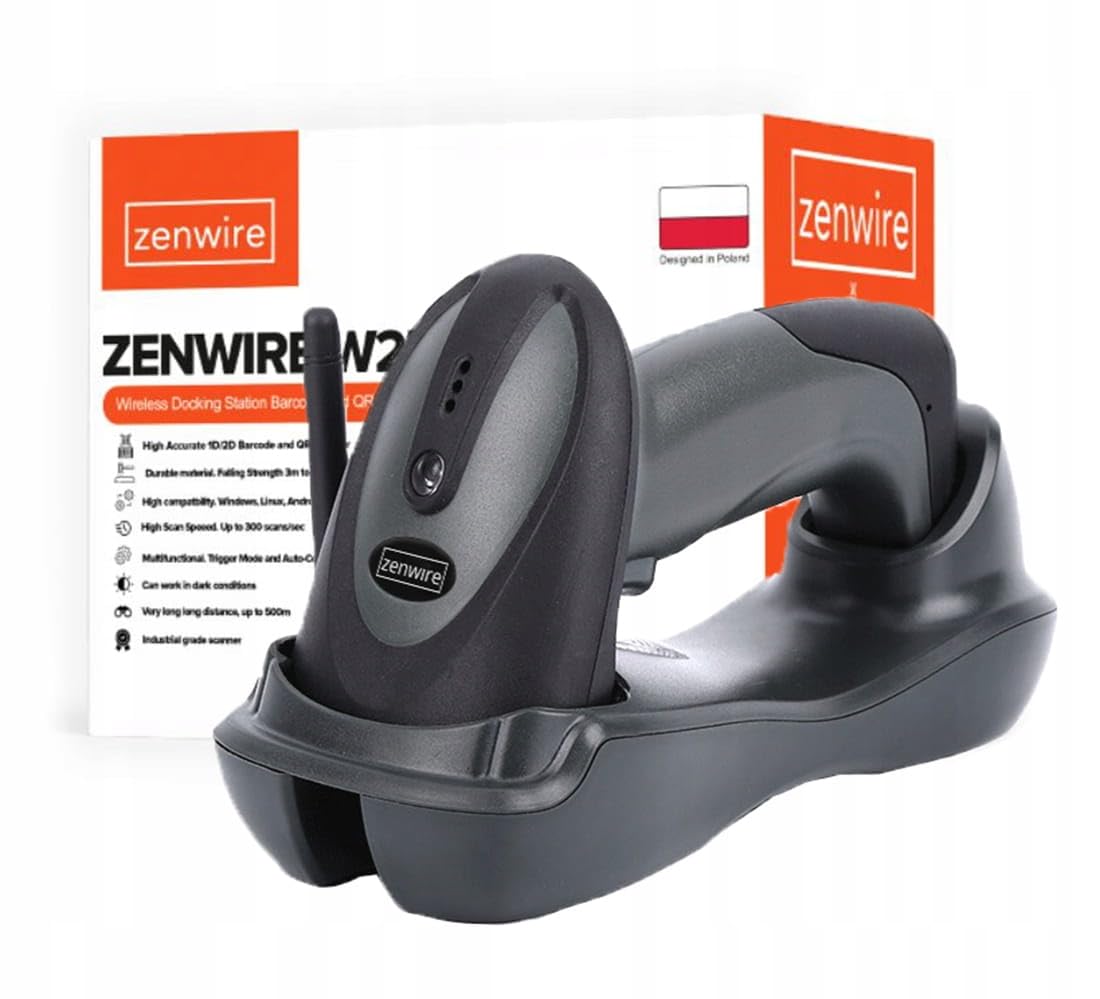
Image: Zenwire W2503 Wireless Barcode Scanner placed in its charging dock. The scanner features a green indicator light.

Image: The Zenwire W2503 Barcode Scanner and its charging dock shown separately. The dock has an antenna.
3.1 Scanner Components
- Прозор за скенирање: Area where barcodes are read.
- Дугме за окидање: Activates the scanning beam in manual mode.
- Индикаторска светла: Provide status information (e.g., power, connection, scan success).
- Контакти за пуњење: Connects to the charging dock.
3.2 Charging Dock Components
- Charging Slot: Holds the scanner for charging.
- УСБ порт: Connects the dock to a host computer.
- Антена: Enhances wireless communication range.
- Дугме за упаривање: Used for establishing wireless connection.
4. Подешавање
- Повежите пуњач: Plug the USB cable into the charging dock's USB port and connect the other end to an available USB port on your computer or a USB power adapter.
- Напуните скенер: Place the Zenwire W2503 scanner into the charging slot of the dock. Ensure the charging contacts align. The indicator light on the scanner will show charging status.
- Успоставите везу: The scanner and dock are typically pre-paired. If not, press the pairing button on the dock and then scan the pairing barcode (usually found in a quick start guide or on the dock itself) with the scanner.
- Инсталација драјвера (Plug & Play): The device is plug-and-play. For Windows, Mac, and Linux operating systems, drivers should install automatically upon connection. No additional software is usually required.
5. Упутство за употребу
5.1 Режими скенирања
The Zenwire W2503 supports two primary scanning modes:
- Ручни режим: Press the trigger button to activate the scanning beam and read a barcode. Release the button after a successful scan.
- Аутоматски режим: The scanner continuously emits a scanning beam, automatically detecting and reading barcodes placed within its field of view. This mode is suitable for high-volume scanning.
To switch between modes, refer to the configuration barcodes provided in the full user manual (if applicable) or contact support.

Image: A barcode scanner actively reading a 1D barcode, illustrating the scanning process.
5.2 Scanning a Barcode
- Ensure the scanner is powered on and connected to the charging dock (which is connected to your computer).
- Point the scan window at the barcode you wish to read.
- If in manual mode, press the trigger button. If in automatic mode, simply position the barcode.
- A successful scan is typically indicated by an audible beep and/or a change in the indicator light. The barcode data will be transmitted to your connected device.
The scanner supports 1D, 2D, and QR codes.
6. Одржавање
- Чишћење: Use a soft, dry cloth to clean the scanner's exterior and scan window. Do not use abrasive cleaners or solvents.
- Складиштење: Store the scanner and dock in a cool, dry place away from direct sunlight and extreme temperatures.
- Одржавање батерије: For optimal battery life, avoid fully discharging the scanner frequently. Charge it regularly using the provided dock.

Image: A Zenwire barcode scanner depicted with a cracked surface effect, symbolizing durability. While the image suggests robustness, proper care is still recommended.
КСНУМКС. Решавање проблема
| Проблем | Могући узрок | Решење |
|---|---|---|
| Скенер се не повезује | Out of range, not paired, USB cable loose | Move closer to the dock, re-pair the scanner, check USB connection |
| Cannot read barcodes | Barcode damaged, incorrect scanning angle, low battery | Try a different barcode, adjust angle, charge scanner |
| No data transmitted | Software issue, incorrect configuration | Restart computer, check software settings, reset scanner to factory defaults (if applicable) |
For further assistance, please contact Zenwire customer support.
8. Спецификације
| Феатуре | Детаљ |
|---|---|
| Модел | В2503 |
| Врсте бар кодова | 1D, 2D, QR |
| Повезивање | Wireless (up to 400m range), USB |
| Режими скенирања | Аутоматски, Ручни |
| Компатибилност | Виндовс, Мац, Линук |
| Повер | Rechargeable via Charging Dock |
| Dimensions (Scanner in Dock) | Приближно 22 цм (Д) x 8.5 цм (Ш) x 12 цм (В) |

Image: Diagram showing the approximate dimensions of the Zenwire W2503 barcode scanner when placed in its charging dock: 22cm length, 8.5cm width, and 12cm height.
9. Гаранција и подршка
Zenwire products are designed for reliability and performance. For warranty information, please refer to the documentation included with your purchase or visit the official Zenwire webсајту.
If you encounter any issues or have questions regarding your Zenwire W2503 barcode scanner, please contact Zenwire customer support.
Контакт информације:
- Webсајт: www.zenwire.eu (Прample, actual link may vary)
- Емаил: support@zenwire.eu (Example, actual email may vary)


